One Room Challenge - Protected by the Dead
Level by Matie
Walkthrough by rtrger
After the small flyby, turn left and shoot the gong. Now go to the edge of that
small terrace, look at the east wall. You can see a jumpswitch, pull it down.
Quickly backflip to the collapsing rock, turn left and jump to the ladder,
climb back up.
The following part can be done in different ways. I write down only one.
Now jump to the terrace where the spikes are, drop down at the pillar. Turn
left, jump to the wooden plank, and jump up to the crate. But before pushing it
in, turn around and jump to the block on the right, pull the switch. Now go
back and push in the crate.
Shoot down the mercenaries (be careful with the barrel - best to shoot it from
a distance so Lara won't blow up near it), pick up the pack of Flares that one of them leaves, and take the Skull from the pedestal. Go to the lower part of
the room, jump back to the small niche at north.
Jump back to the starting terrace, and you can see that the switch opened a
door. Pull the switch, shoot down the spider. If you look down at the edge
again you can see that the spikes have retracted on the wooden plank. Jump
there, climb up to the top so Lara can climb up to the ceiling. Monkeyswing to
the left, pull down the jumpswitch. Pick up another Skull,
climb up to the terrace where you started the game. Put the 2 Skulls to their
place so a new door opens.
Shoot down the two panthers. Going forward you can see a terrace with 4
symbols. Go west, catch the ladder on the pillar, shimmy to the right, and
counting from above, do a backflip-roll jump (press jump and roll in midair) on
the second piece of wood, swing to the column. Pull down the jumpswitch on the
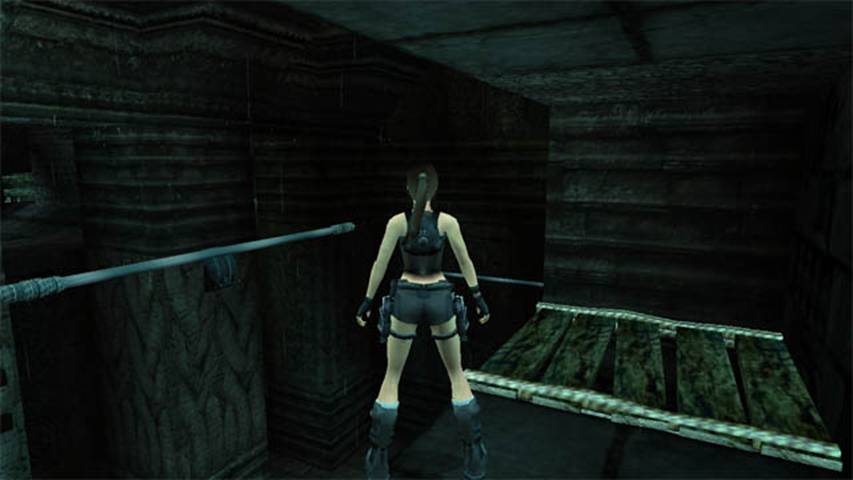
north wall, get back up to the column again. On one of the columns on the east,
there is another jumpswitch, pull that one down too. Get back up for a last
time, align Lara to the pose in the screenshot below and do a curve jump to the
right. If you did it right Lara should catch the swingpole, and you can pull
down the final jumpswitch. Make your way back up to the terrace with the
symbols.
Don't move the blocks yet, instead, go south where a switch is and pull it so
the final block raises. Now you can pull the blocks to the correct symbols on
the floor (it shouldn't be that hard). A cutscene kicks in with a key appearing
on a pedestal. Go west to the gate (where you entered to that place), jump to
the south-west terrace, and drop down at the pillar. Jump to the wooden plank
on the left, jump up to the niche, pick up the Blue
Key. Make your way back to the place where you pulled the blocks, go
to the south-west corner, use the key. Jumping from block to block you'll reach
a wooden door which will close if you jump there. Grab the pistols, as an evil
creature pops up, you can kill him easily if you crawl down near him, so he
will miss you. After he dies, pick up the Gemstone
at the east wall. Now go to the spinning circles at the center, use the
Gemstone so the end trigger kicks in with the final stats.